Dynamic Configuration
Concept Description
Dynamic Configuration makes it possible to update configuration items during the life-cycle of the service without re-deploying it. Users have to deploy services with those configurations in xml or properties file in traditional way and have to redeploy and restart services to update the configurations which could be very difficult to maintain and cost lots time. This problem can be solved by importing configuration center, all configuration items can be stored and maintained by configuration center, services can get latest configuration items through a fixed time period thread without redeploying themselves. Java Chassis supports Apollo configuration center currently and it's easy to extend to other kind of configuration centers by implementing provided interfaces.
Development Example:
Deploy and start Apollo configuration center
Apollo services can be easily deployed and started step by step following its official document, You can also do that by following command:
   git clone https://github.com/lijasonvip/apollo-image-for-servicecomb.git
   cd apollo-image-for-servicecomb && docker-compose up
When your console shows Portal started. You can visit http://localhost:8070 now! , it means the service is started and ready for use(It could take serval minutes which depends on machines). Visit Apollo configuration pages at http://localhost:8070 in a browser. Please refer to Docker document about docker-compose.
Configure services and get a token
-
Login to Configuration center and create a project
Visit the address of Apollo configuration portal service , for example:
http://192.168.199.1:8070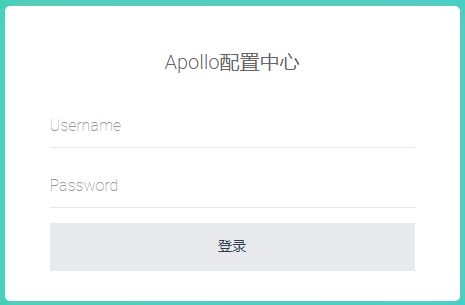
The default account to login to Apollo configuration center is apollo and admin for username and password respectively.
-
Create a project
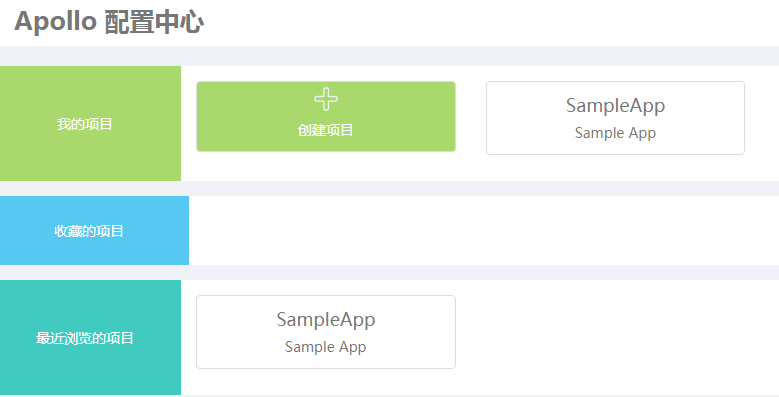
There is a demo project named SampleApp, you can create a project for your service by click the green icon
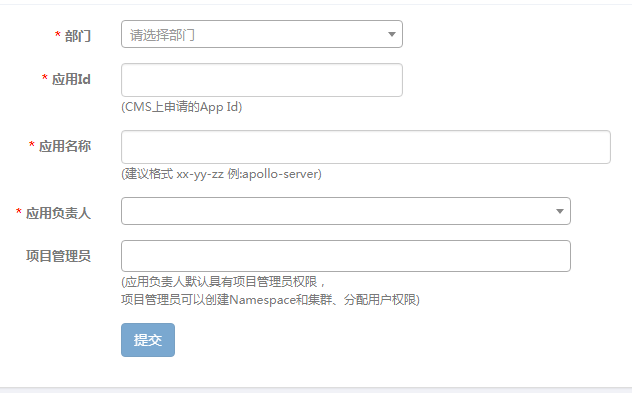
+. The picture below is a example to create a project, fill in your application ID and service name and choose the department and owner of the project and then submit them.
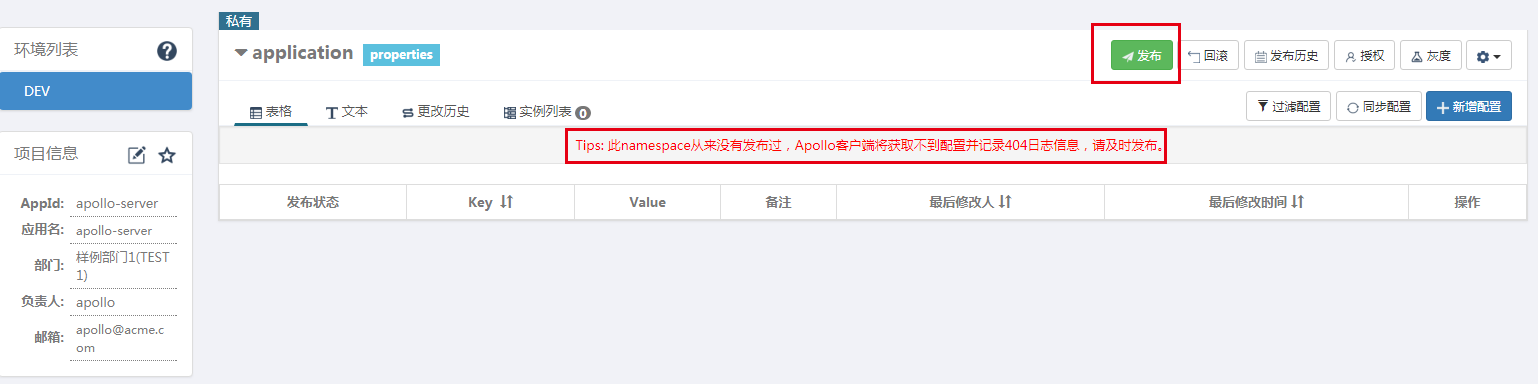
Pay attention that you should release the project when it’s created or client will get nothing of the project. Click the release button as below.
-
Generate a Token
Visit http://192.168.199.1:8070/open/manage.html and fill in application ID and service name you just created at last step, then choose department and owner of the project and click the create button to generate a token. The token will be used later in project code.

Add dependency in pom.xml
    <dependency>
          <groupId>org.apache.servicecomb</groupId>
          <artifactId>config-apollo</artifactId>
    </dependency>
Add configurations in microservice.yaml
   apollo:
     config:
       serverUri: http://127.0.0.1:8070
       serviceName: SampleApp
       env: DEV
       clusters: default
       namespace: application
       token: testtoken
       refreshInterval: 10
Configurations under apollo.config are parameters of the project that users created above, including serviceName, env, clusters, namespace, token and refreshInterval. Pay attention to refreshInterval: 10, it means service will fetch latest configuration items every each 10 seconds, default refresh cycle is 30 second if no value is configured here.
serviceName need to be AppId in apollo, please pay attention to that.
Get configurations
Creating a configuration item named timeout and set its value to 100 then release the configuration with some comments. Example as below: 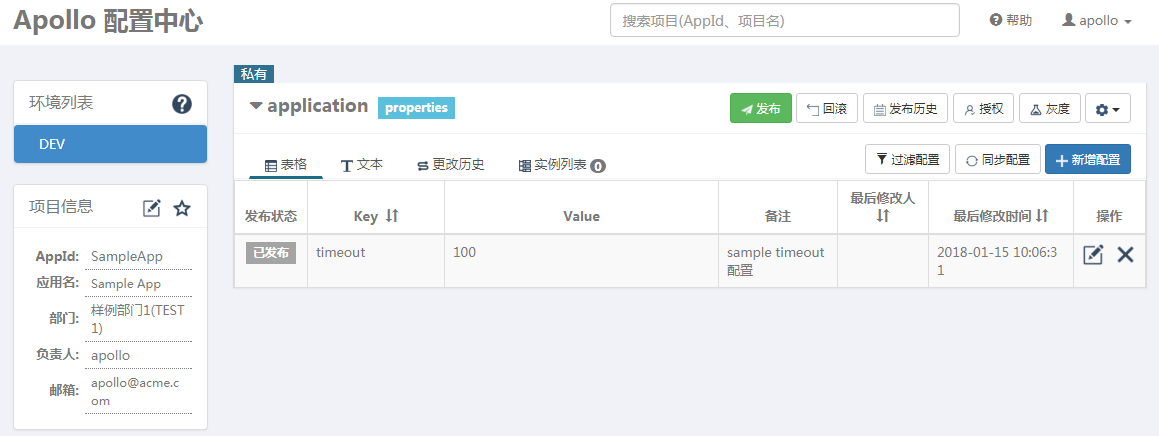
You can useDynamicPropertyFactory.getInstance().getProperty() to get the value of configuration items.
   public class Demo {
      public static void main(String[] args) throws Exception {
        Log4jUtils.init();
        BeanUtils.init();
        while (true) {
          DynamicIntProperty timeout = DynamicPropertyFactory.getInstance().
            getIntProperty("timeout", -1);
          System.out.println(timeout);
          Thread.sleep(3000);
        }
      }
    }
When the configuration items are modified and released in Apollo configuration center, the example code above will print latest value of timeout after a refreshing cycle.